Sunday 4 December 2011

Bibliography

Matossian, M., 2004. 3ds max for windows.
Berkeley (CA): Pearson Education.

References

BBC news, 2010. Rare paintings discovered in Finchingfield guildhall.
[Accessed 2 October 2011].


The Federation of Women's Institutes, 1988. The Essex village book: Finchingfield.
Newbury and Chelmsford: Countryside Books.


Finchingfield Guildhall Trust, 2010. Finchingfield guildhall history: Deeds.
[Accessed 22 September 2011].


Flickr, 2009. Diamond coronet's photostream: textured 16th century book cover
[Accessed 11 November 2011].


GWS., (n.d.). A short story of Finchingfield.
Chelmsford: J.H.Clarke and Company.


Heritage Lottery Fund, 2010. £980,000 award to restore Finchingfield guildhall.
[Accessed 27 September 2011].


Paulbourke., Texture brass.
[Accessed 18 November 2011].


Textures online., Free wood textures.
[Accessed 28 November 2011].


Vaughan, E., 1934. The stream of time: Sketches of village life in days gone by. 3rd ed.
Colchester: Benham and Company Ltd.


Tuesday 29 November 2011

Timeline

The timeline was first constructed with two scroll ends.
The same scroll end design was used to create the timeline arrow pointer where the end section was created using a polygon shape and rotated to form an arrow point. A bevel and emboss including a contour was applied to the blue end section. 


A blackline was drawn between the two end scrolls and the stroke value increased to expand the thickness of the line. Text was added on seperate layers which appear on the timeline.

Monday 28 November 2011

Modelling of page


A plane was created and converted to an editable poly. Soft selection was used to select an area of vertices that were then moved to form the shape of the page.  

The text was mapped on to the page as a bitmap image and the UVW modifier enabled the text to be placed correctly. 


Animating Lamp - Using New Skill of Atmospheric effect / flame

To create a flame that appears when the scene is rendered an Atmospheric effect was applied. The flame structure is modelled using a gizmo and the atmospheric effects of the flame are added using the setup rollout, where the colour and density of the flame may be adjusted.
The flame is animated along the animation timeline using the gizmo to adjust the flame height and width.  


The colour and the opacity of the lampshade was also adjusted and animated to correspond to the height of the flame, which created the illusion of an increased light level with the increase in the height of the flame.


Tuesday 22 November 2011

Modelling of Bread Loaf


A plane was created and the image of the bun loaf was mapped onto the plane. 


A sphere was then created and scaled to the size of the bun loaf.


The Sphere was then converted to an editable poly and with the use of Soft selection vertices were then chosen. The top of the Sphere was then moved down to create a squashed profile.


The vertices on the base of the Sphere were then selected and moved in an upward direction to squash the base profile.

An attempt was made to map the image of the bun loaf onto the Sphere using the UVW map modifier. However, the UVW mapping would not map the image correctly and a decision was made to use the colours from the colour palette to create a realistic image. The image was further enhanced by applying a speckle pattern with the size of the pattern selected under the speckle parameters rollout.  


The rendered image of the bun loaf.


Monday 21 November 2011

Week 10 Modelling of Lamp


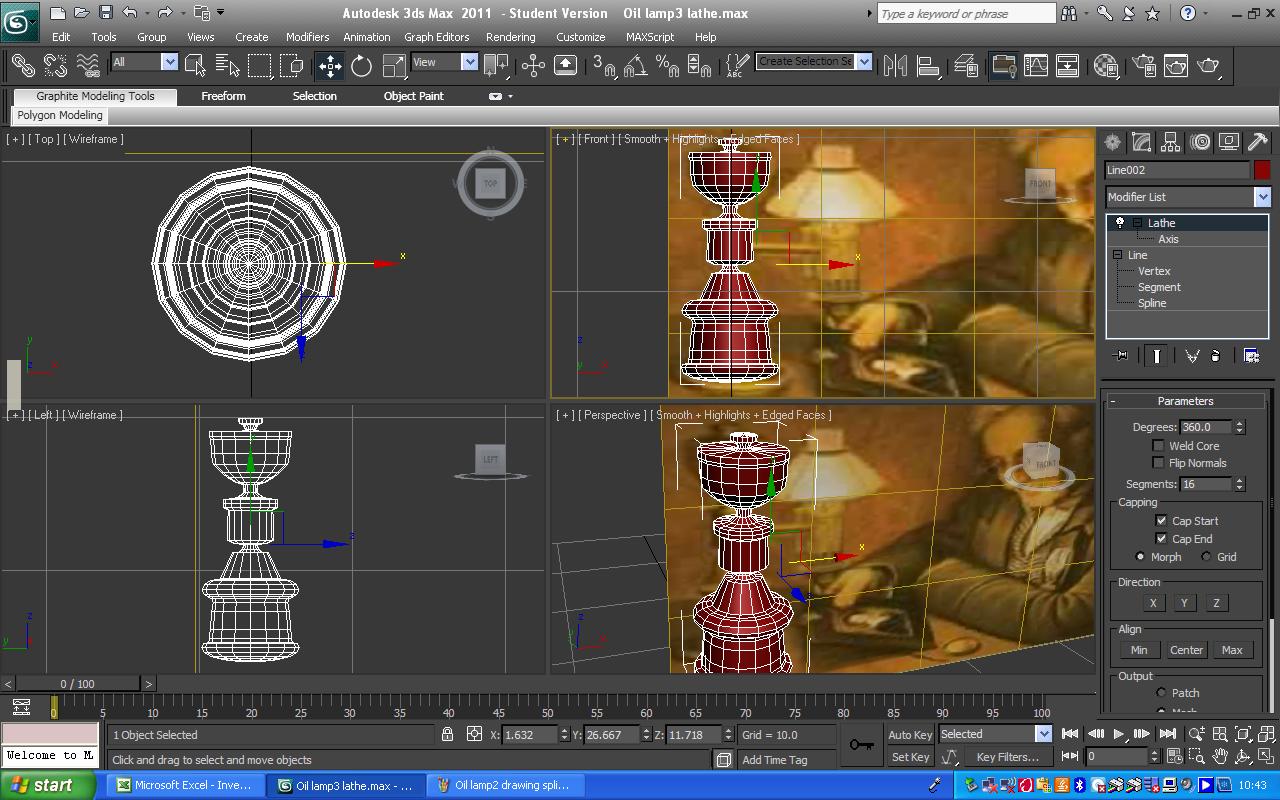
The spline line was selected and drawn around the profile of the lamp.


The lathe modifier was selected from the modifier list and direction x clicked on.


The weld core box was checked


Align 'min' must be clicked on so that the lathe modifier creates a correctly lathed model. The lamp model on the right hand side shows how the spline line lathes if the align 'min' is not clicked on.


Clicking on line and vertex enables the spline line to be re-visited for adjustment purposes. 


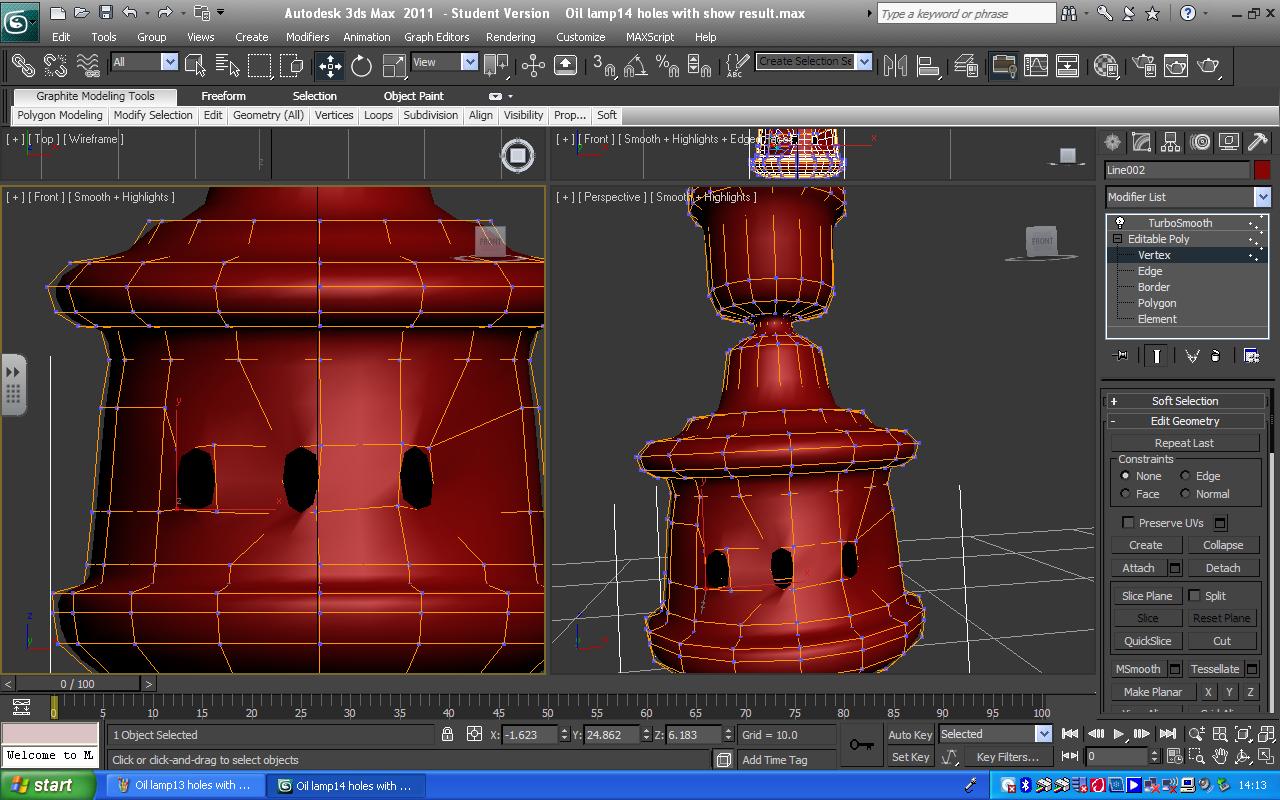
The lamp was then converted to an editable poly.
The holes around the lamp base were created by selecting the polygon and using the cut tool.


The resulting polygon shape after using the cut tool.


Resultant image after deleting the polygon.


The model after applying a turbosmooth modifier. Selecting editable poly, clicking on 'show result in viewport' and then clicking on vertex enables the vertices to be moved. The surface of the model then changes in direct relation to the movement of the vertices. 


                                                                       Paulbourke
                                                                      

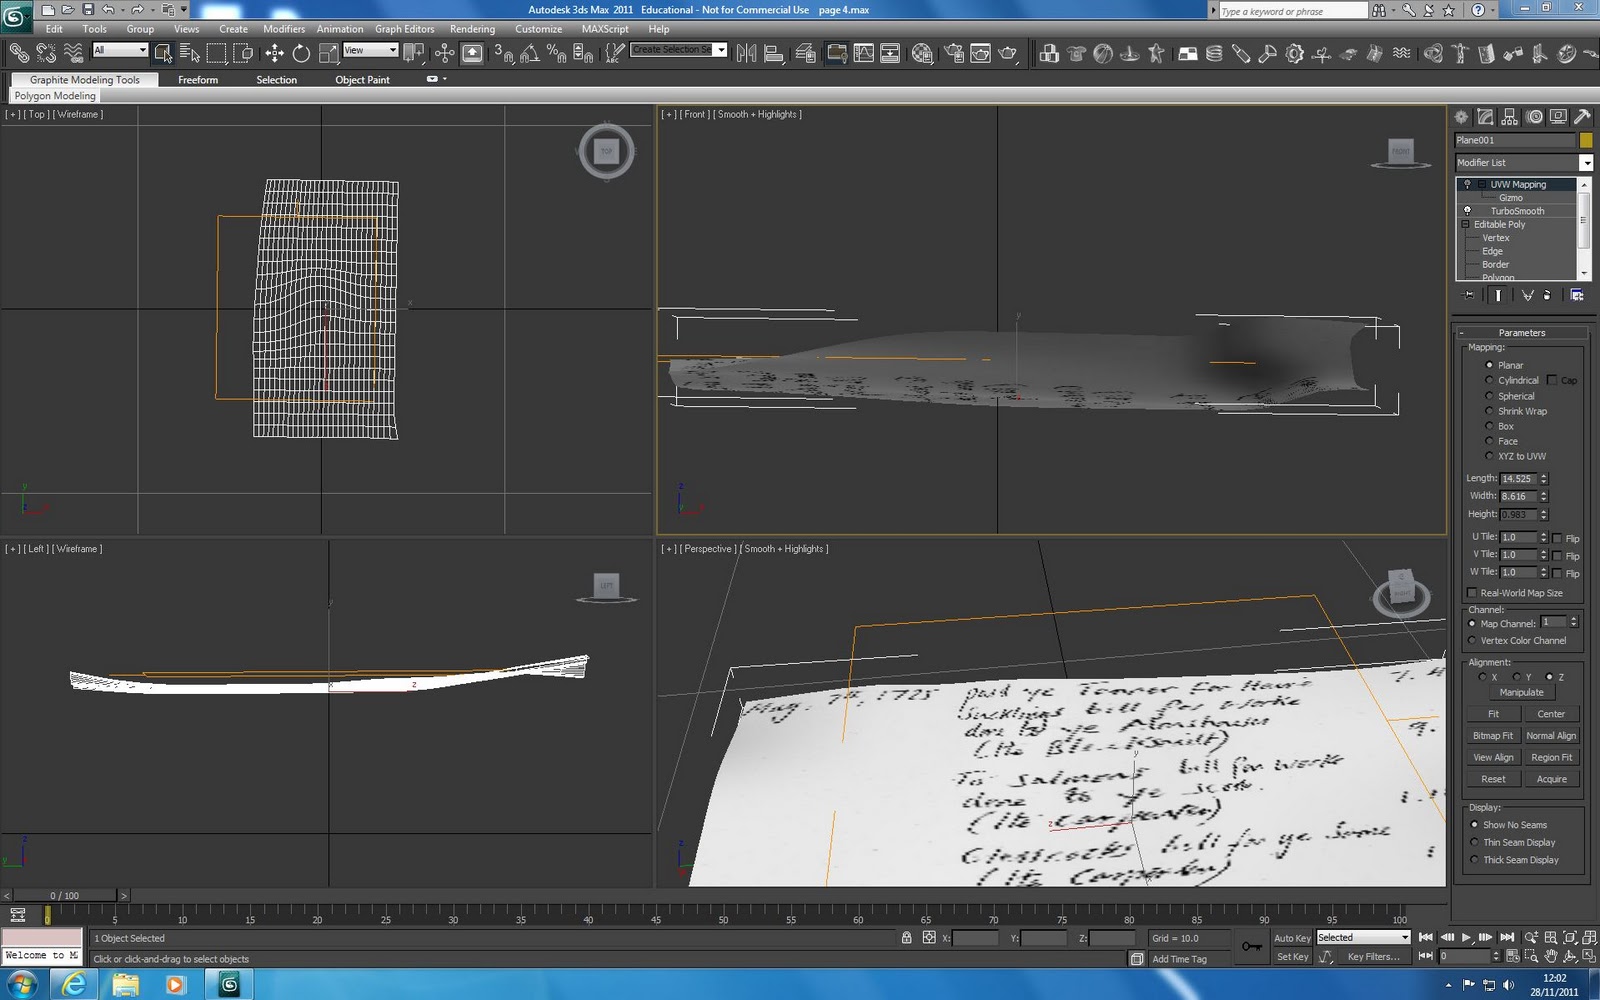
The Brass texture was applied to the model.

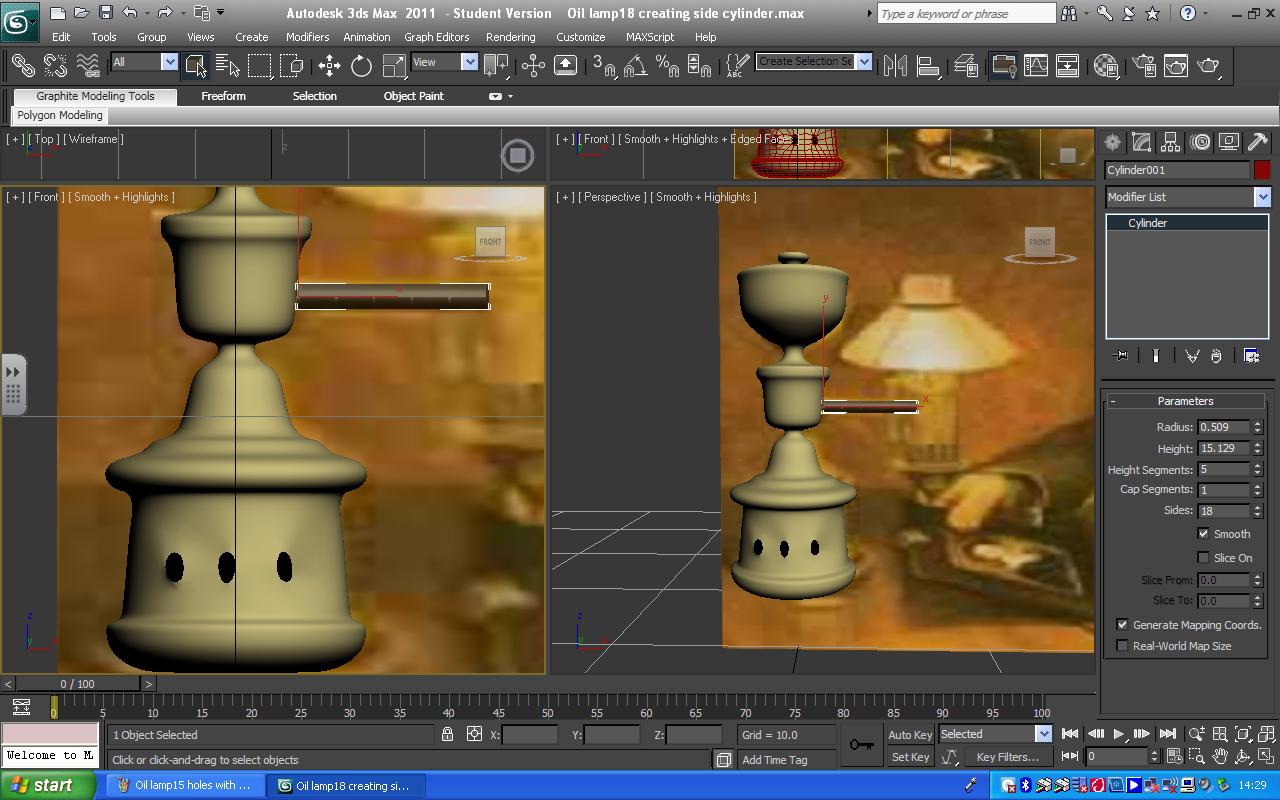
The cylinder was created using the cylinder tool in create geometry and then scaled using the scale tool.


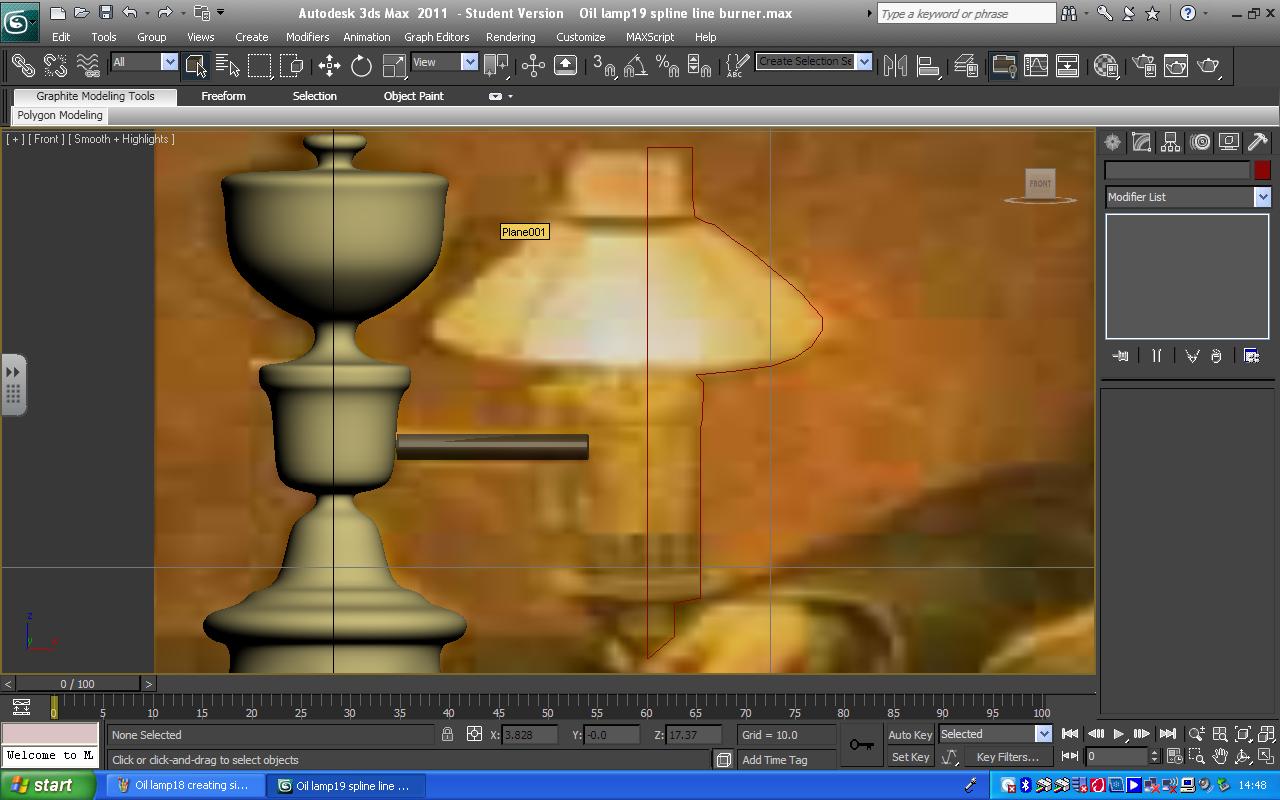
The spline line was selected and drawn around the profile of the lamp burner.


The result of the lathed spline line.


The polygons selected ready for the brass texture to be applied.


The brass texture applied.


The polygons selected ready for the lamp colour to be applied.


The lamp colour applied.


The final oil lamp model.


The final rendered image of the oil lamp model.